A compact coffee station succeeds when you can make a drink without relocating the toaster, searching for a filter, or carrying a dripping basket across the kitchen. The aim is not to reproduce a cafe counter. It is to give an everyday habit a small, dependable home.
Start with one brewing method and build the station around its movements. A narrow counter can accommodate useful equipment, but only if the layout includes refilling, serving, and cleanup. Accessories should follow a problem you have noticed rather than a photograph you want to copy.
Step one: choose the drink before the machine
Write down the drinks made in a normal week. A household that mostly wants two large black coffees needs a different station from a person preparing one milk drink. If tea and pour-over coffee share the space, a kettle may be the central appliance and the brewer may be a small manual tool.
For espresso, the Breville Bambino Plus is a real compact-machine candidate to compare. For shared tea and filter-coffee routines, the OXO Adjustable Temperature Kettle provides another starting point. Their published features serve different workflows; neither is a universal first purchase.
Do not buy several brewing systems at once unless several people genuinely use them. A station filled with an espresso machine, capsule brewer, drip machine, and kettle can become a storage display instead of a useful work area. Our espresso versus drip guide helps decide which routine deserves priority.
Step two: map the route from water to cleanup
Place five pieces of paper on the counter: water, coffee, brewing, serving, and cleanup. Walk through making a drink. Notice which steps cross each other or block a drawer. Keep a clear spot where a full cup can rest safely before you carry it away.
A station near the sink can shorten the refill and washing route, but do not crowd electrical equipment into a splash area. Follow each appliance’s placement instructions. Plan cord access so you do not need to reach behind hot equipment or stretch a lead across a walkway.
Consider the direction of movement. Someone who always reaches for grounds with the left hand may prefer storage on that side. Someone whose kitchen counter ends beside a doorway may need the cup landing area farther in. A useful layout responds to how people move, not an abstract rule that every station must be symmetrical.
Step three: measure the open machine
The dimensions on a listing usually describe a closed appliance. You need room to lift a lid, remove a water container, access a drip tray, or pick up a carafe. Check whether upper cabinets interfere with these actions. A machine that fits under a shelf may still need to be pulled out every morning.
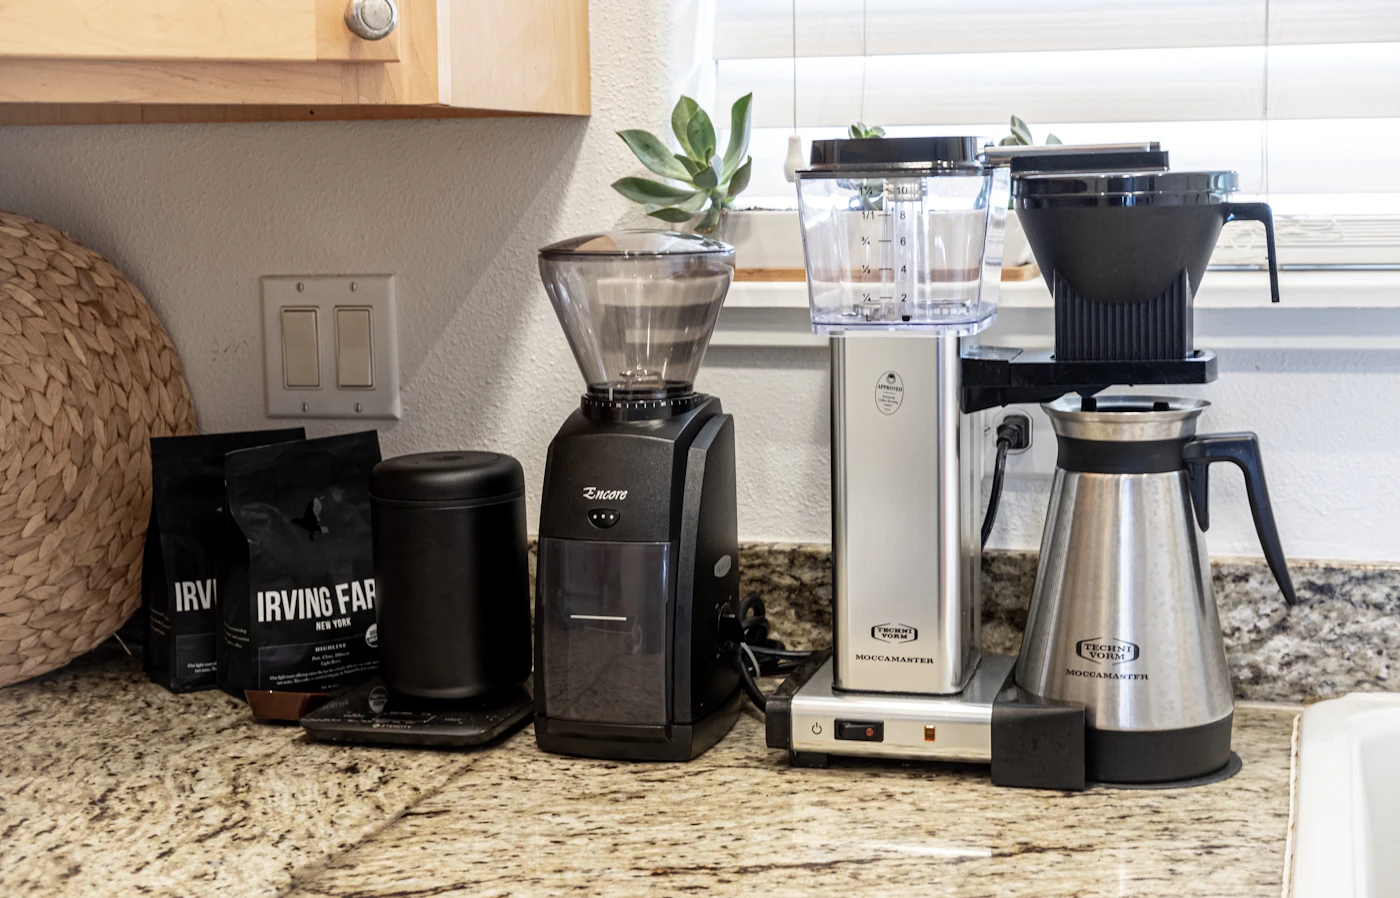
Use a cardboard box to represent the equipment and rehearse the refill. Mark room for a grinder if one is needed. For an espresso setup, add the working space where you handle the portafilter and pitcher. For manual brewing, count the dripper, server, and scale rather than measuring only the kettle.
Keep operating clearances and ventilation requirements from the manufacturer separate from the decorative footprint. Trays, mats, and shelves should not prevent the appliance from sitting securely or interfere with safe use.
Step four: store the small things in one layer
Frequently used items should be visible without unpacking a stack. A shallow drawer can hold filters, a scoop, and a cleaning cloth. A small container can organize coffee supplies without introducing a dozen matching jars. Store beans or grounds according to their packaging and your actual consumption rather than buying a large container because it looks coordinated.
Limit displayed cups to those used daily. Extra mugs belong in normal cupboard storage. Keep cleaning products distinct from beverage ingredients, with labels intact. If several people share the station, a simple written brewing recipe can reduce confusion without adding more equipment.
Buy accessories in a useful order
| First purchase | When it earns its space | What to avoid |
|---|---|---|
| Suitable filters or baskets | Required by the brewing method | Bundles that do not fit the model |
| A small scale | You want a repeatable recipe | An oversized platform for tiny drinks |
| A cleaning brush or cloth | Grounds and spills accumulate | Decorative tools with no daily job |
| Milk pitcher | You prepare steamed milk | Several sizes before understanding portions |
| Organizer or tray | Loose items block the counter | A tray too large to wash or lift |
A grinder can be essential to the method, but check its purpose before buying. Espresso and filter routines make different demands. A matching brand or color does not establish compatibility.
Make closing the station easy
Before leaving in the morning, there should be an obvious place for each used part. Read cleaning instructions and identify which pieces need prompt attention. Keep the drying area practical so damp accessories do not disappear into a closed cupboard.
At the end of a week, inspect the station. Remove anything you did not touch. If the process repeatedly requires shifting a heavy appliance, change the layout before buying another accessory. Our small-kitchen appliance storage guide can help recover preparation space around the coffee area.
The buying goal is modest: one reliable brewing method, accessible supplies, and a cleanup route you will actually follow. Compare current merchant bundles only after the layout is planned. The most satisfying station is the one that still works when you are making coffee in a hurry.
EXPLORE THE OPTIONS
Products worth a closer look
Compare the current specifications, local availability, and returns policy before deciding.
Breville Bambino Plus BES500
Best fit: Individual espresso and milk drinks; A compact espresso station.
Why consider it: Milk-texturing controls support different preferences; A focused espresso machine footprint.
The tradeoff: Requires a coffee grinding and preparation plan; Individual drinks require repeated preparation.
OXO Brew Adjustable Temperature Kettle
Best fit: Tea drinkers using different temperature instructions; Shared hot-drink routines.
Why consider it: Temperature selection for different recipes; Visible water level through glass.
The tradeoff: A full vessel needs comfortable handling; Conventional spout rather than a dedicated gooseneck.
Sources & editorial notes
Manufacturer information checked on October 4, 2026. Features can vary by model and country. Confirm the exact version before purchasing. Lifestyle photos illustrate the setting; they do not document product testing.
Read our editorial policy